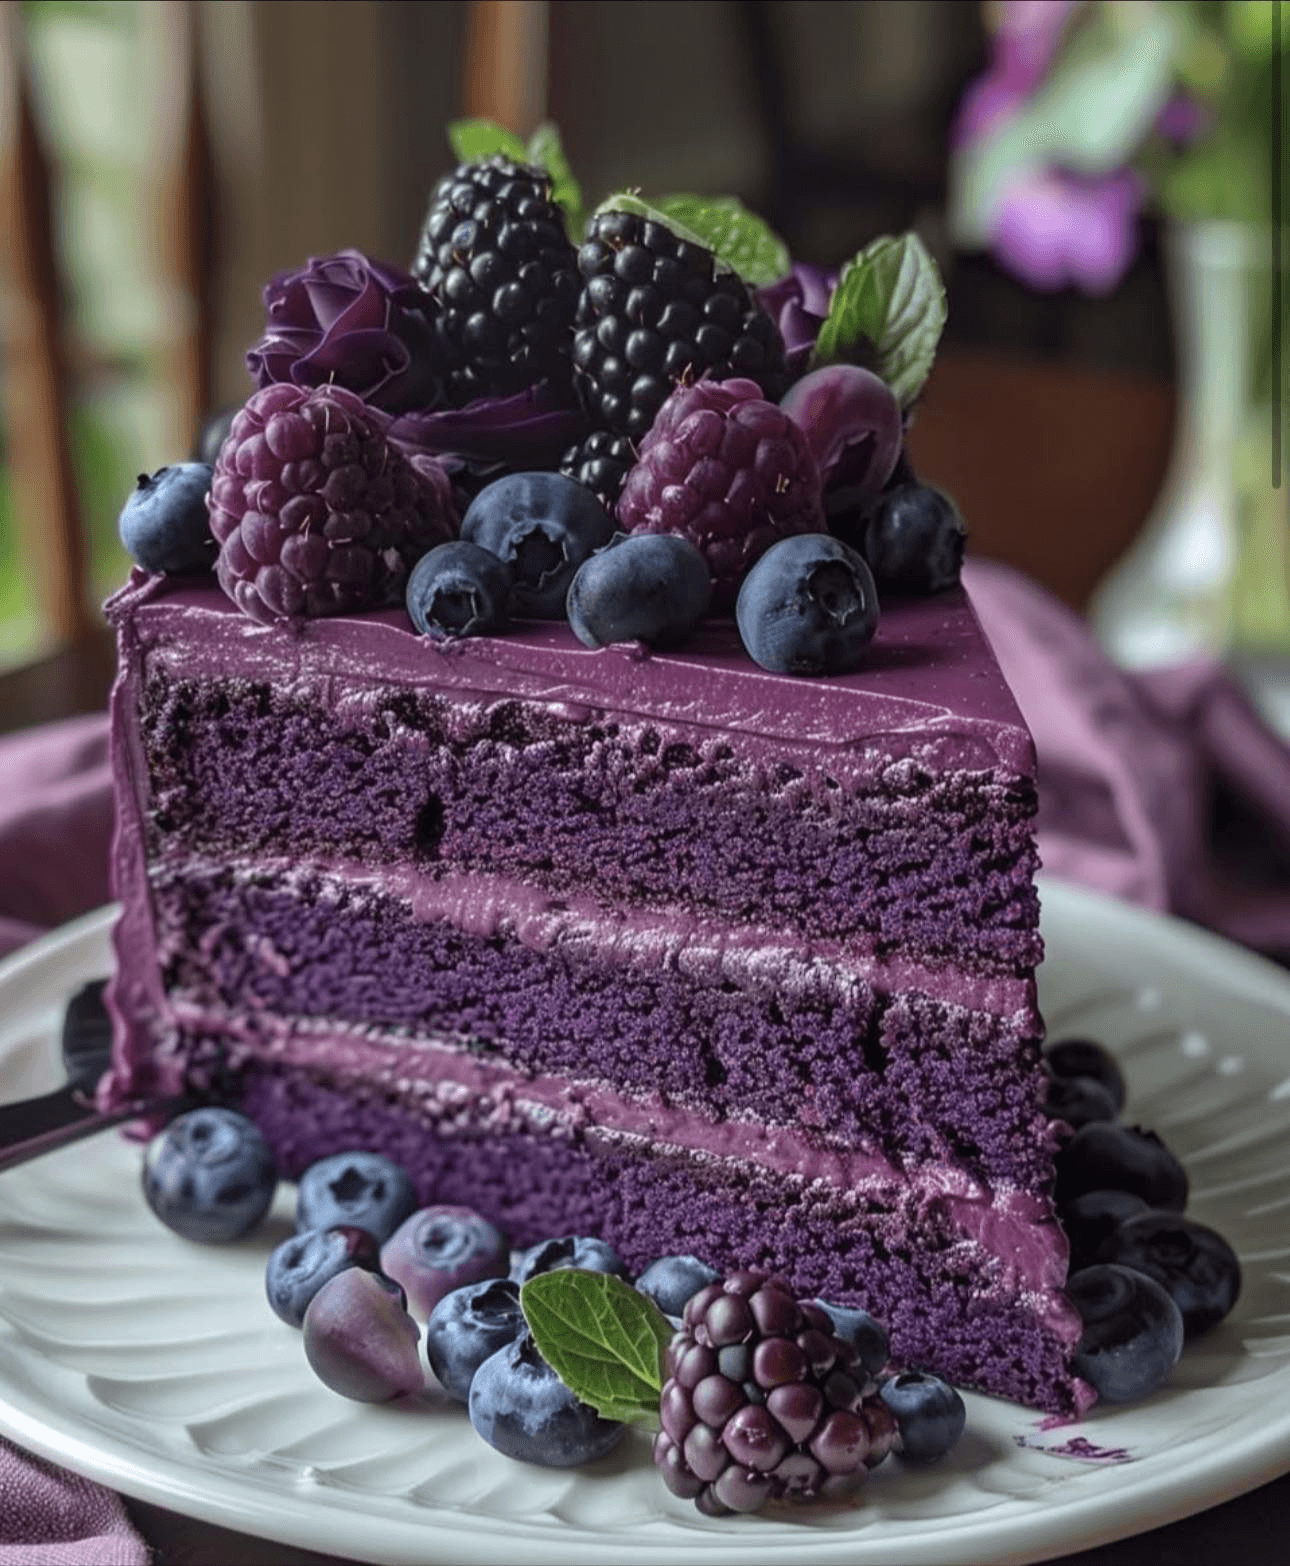
Let me take you back to the first time I whipped up this Purple Velvet Cake. It was for my niece’s birthday, and I wanted something that would make her little face light up. When I cut into it and those vibrant purple layers peeked out, everyone gasped—it was like something out of a storybook! Since that day, this cake has been my secret weapon for celebrations, and I’m so excited to share it with you. With its soft, moist layers and a dreamy white chocolate cream cheese frosting, it’s as delicious as it is eye-catching. Ready to make some kitchen magic? Let’s dive in!
Why You’ll Love This Cake
This cake isn’t just dessert—it’s a showstopper. The rich, velvety texture melts in your mouth, with a hint of cocoa that dances with the tangy-sweet frosting. Whether it’s a birthday, a baby shower, or just a random Tuesday, this cake adds a sprinkle of fun to any moment. And here’s the best part: it’s way easier to make than it looks. Even if you’re a baking newbie, you’ll feel like a pro with this one.


Serving Suggestions
This cake fits anywhere:
- Breakfast Win: A slice with coffee? Heaven.
- Fancy Nights: Pair with dessert wine for a classy vibe.
- Chill Evenings: Cold milk and a cozy movie—perfect.
Top it with blueberries or blackberries for extra pizzazz, and serve it on your favorite plate. Every slice deserves a spotlight!
Storage Tips
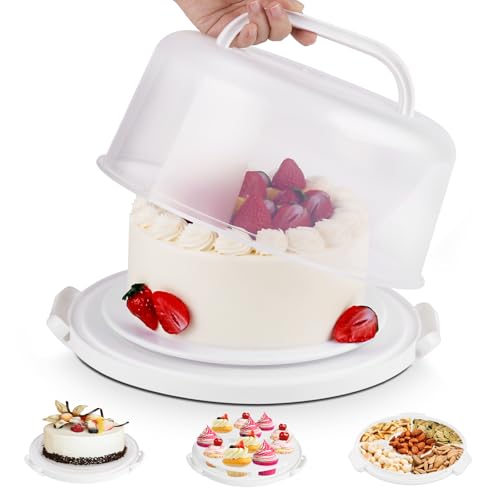
- Fridge: Pop it in an airtight container—it’ll stay fresh for up to 5 days (if you don’t eat it first!).
- Freezer: Freeze unfrosted layers for up to 3 months. Thaw in the fridge overnight before frosting.
Ingredients
For the Cake:
- 2 1/2 cups all-purpose flour – The foundation for that perfect texture.
- 1 1/2 cups granulated sugar – Sweetness in every bite.
- 1 tsp baking soda – Makes it rise like a dream.
- 1 tsp salt – Keeps the flavors in check.
- 1 tsp cocoa powder – Just enough for a subtle chocolate vibe.
- 1 1/2 cups vegetable oil – The key to that moist crumb.
- 1 cup buttermilk, at room temperature – Adds a tangy kick.
- 2 large eggs, at room temperature – Holds it all together.
- 2 tbsp red food coloring – The starting point for the purple magic.
- 1 tsp purple food coloring (adjust to taste) – For that wow factor.
- 1 tsp white distilled vinegar – Keeps it light and fluffy.
- 1 tsp vanilla extract – A warm, cozy note.
For the White Chocolate Cream Cheese Frosting:
- 1 pound cream cheese, softened – Creamy and irresistible.
- 2 sticks unsalted butter, at room temperature – Brings the richness.
- 4 cups confectioners’ sugar, sifted – Sweet and smooth.
- 1 tsp vanilla extract – A little extra love.
- 4 oz white chocolate, melted and cooled – The luxurious twist.


Instructions
Step 1: Preheat and Prep
- Crank your oven to 350°F (175°C).
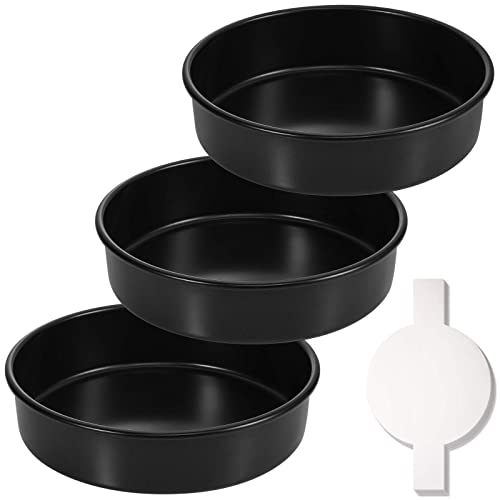
- Grease and lightly flour two 9-inch round cake pans. Trust me, this saves you from a sticky disaster!
Step 2: Mix the Dry Stuff
- In a big bowl, sift together the flour, sugar, baking soda, salt, and cocoa powder. Sifting makes it light and lump-free.
Step 3: Whisk the Wet Stuff
- In another bowl, whisk the vegetable oil, buttermilk, eggs, red food coloring, purple food coloring, vinegar, and vanilla extract until it’s smooth. This is where the purple magic comes to life—watch it transform!
Step 4: Bring It Together
- Gently stir the dry mix into the wet mix until they’re just combined. Don’t overdo it—keep it smooth and silky.
Step 5: Bake It Up
- Split the batter between your pans.
- Bake for 25-30 minutes, or until a toothpick comes out clean. Your kitchen’s about to smell amazing!
- Cool the cakes in the pans for 10 minutes, then pop them onto wire racks to cool completely.
Step 6: Make the Frosting
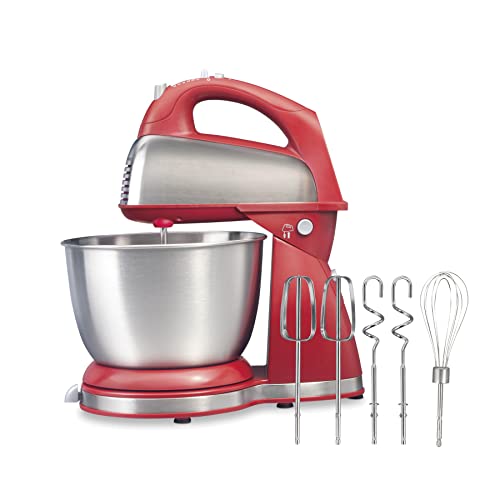
- Beat the cream cheese and butter until they’re creamy and smooth.
- Slowly mix in the confectioners’ sugar and vanilla extract, beating until it’s fluffy.
- Fold in the melted white chocolate—go slow for the creamiest result.
Step 7: Put It All Together
- Set one cake layer on a plate and slather on a generous layer of frosting.
- Top with the second layer and frost the whole thing—top and sides. Swirl it for fun!
- Add some flair with fresh berries, edible glitter, or whatever sparks joy.
Baker’s Tips for Success
- Color Magic: Start with red food coloring, then add purple gel a little at a time. Gel’s the way to go—it’s bold and won’t mess with the batter.
- Velvet Vibes: Mix just until combined—overmixing makes it tough, and we want tender!
- Frosting Hacks: Room-temperature cream cheese and butter are a must for smooth frosting.
- Plan Ahead: Bake the layers early and freeze them for up to 3 months. Frost fresh when you’re ready.
Frequently Asked Questions
Q: How do I get that perfect purple?
A: Start with red, then add purple gel bit by bit. It’s like painting—have fun with it!
Q: Why buttermilk and vinegar?
A: They make the cake tender and fluffy. It’s baking magic at work!
Q: Can I use cake flour?
A: Yep! Swap it 1:1 for an even softer cake.
Q: Why room-temperature ingredients?
A: They blend better, giving you a smoother batter and frosting.
Q: Can I make it ahead?
A: Totally! Bake and freeze the layers, then frost when it’s go-time.